Showing posts with label girl with green eyes. Show all posts

Friday, September 4, 2015

Costume Progress - Gracie Law

It's taken me a while to get back to working on the head dress for several reasons.  It was almost done and therefore not a priority on my list of things to do.  I did however complete the head dress and went back and restamped the dress with a sparklier fabric paint because the first fabric paint was much duller and hardly could be seen as gold.

I plan on wearing a red and gold corset to give me shape and to act as the Obi.  If I have time I'd like to partially line the sleeves because the fabric is shedding strings and could use some help.


 So here is is.  3D printed feathers adapted and modeled by my hubby and printed on his favorite toy and then spray painted with glitter paint.  Air dry clay made by hand and painted gold.  Headband.  Piece of felt formed, beads glued on, trim glued on, pearl sewn on.  Side wings hand drawn and painted, bead trim glued on.  Pearls glued on feathers.


Vintaj brass accent baked with gold embossing powder, beads and tassel attached.


Most of it's stuck together with craft or hot glue.  I'm still a little nervous about how things will hold together on a train ride to the con and then a trip to the airport and then regular bumping and heat at a normal convention.


 I'm very happy with how it turned out.  The good news for you is that I won't be costume dumping on Gracie Law anymore.  I do have progress on Agatha and Silver Sable.  I promise the next costume update will be full of other things.

PS.  Putting this thing on is a practice in fearful tension.  You don't want to bump or pull anything off so you gingerly keep trying to hold it in a different place so you have a good grip and don't drop it while trying to get it on your head.  It's quite comical.


After Silver Sable's last costume dump I went back to the drawing board and took on a very ambitious sewing project.  It's driving me to the edge, I'm not going to lie.  I hate not being good at things and I am not good at sewing.  Despite those facts, I think I'll feel so much more true to Silver Sable.  People still won't know who I am but that's okay.

In other news, progress on the Mystery Dinner Party script is progressing.  I've been hitting a wall on the next stage but I have been creating content.  I tend to make my mysteries very complicated...or at least it feels that way to me trying to hold it all in my head.


Wednesday, August 19, 2015

Costume Progress - Gracie Law Headdress

I have been busy making commercials, participating in G.I.S.H.W.H.E.S and generally being too busy for my brain capacity.  I have however made progress on the head dress that I think it worthy of note.

I drew out the side wings, started gluing on the feathers and generally continued in the trial and error or making.


I made the swan head out of air dry clay.  I had some issues with getting it to keep it''s shape once formed so I used some scrape pieces of paper to hold the curves I wanted it to take.


I then painted it gold with some basic acrylic craft paint.  I took a piece of craft wire and speared the clay and then pined it to the now firm felt and added hot glue to fill in the gaps.

We had to print some more feathers to help fill in the gaps and extend the gold feathers past the aqua marine wings.  


This is the shot from the back and the shot below is from the front.  I know the head form is backwards but because the head form's face tilts, I was having a hard time getting the front centered because of that slant so I just turned it around so I could keep things as centered as possible.  Now the only thing that's left is to glue on some pearl accents onto the feathers and make the dangles that hang from the furthest hanging feathers. 


 My only concern at this point is that the heat of the con may start melting some of  the hot glue and therefore compromise the stability of the feathers and wings.  I'm going to probably supliment some super glue.  The con is always the gauntlet.  I am pleased with the progress thus far and even if I don't complete the accents I have planned I'm pretty sure this is going to stand on its own .  Sure the beads may fall off and the feathers may fall off...I have these pictures and it's beautiful.

I have settled on a pattern that I am happy with for Silver Sable and if I have time I'll make a practice version before I get the final fabric.  I've been struggling mightily with Silver Sable.  I'm not a thin woman and since Silver Sable is one of my childhood loves, I didn't want to be lame....especially since my husband and brother's cosplay for the marvel noir day is pretty awesome.


Tuesday, July 28, 2015

costume progress - Big Trouble in Little China Gracie Headdress

So, let's start with the progress on the Big Trouble in Little China Gracie Headdress.   I purchased a piece of blue felt which I then cut into the shape I wanted.  At first I thought a good heavy starch was going to work.  I quickly reevaluated that thought.  So I pulled out some Modge Podge and thought, I'll do double duty and glue the beads on while I'm also shaping the felt in place.....this did not work.  At least the beads were not sticking to the felt with just modge podge.  So I pulled out dimensional modge podge.  This worked better......except that I had already sprayed the felt with starch and painted it with modge podge so ... it was a little soaked by this time.  So While I'm trying to keep the dimensional modge podge from dripping and placing beads and trying to keep them in place, the felt starts dripping a mixture of starch and modge podge down the head form.  Neadless to say this part was a mixture of trial and error but mostly error.  The end result is pretty near perfect however.

I had purchased a peacock glitter head band to act of the base of the head piece.  This seemed like the best way to have an easy to wear and sturdy base.  I cut out some card board using the inside and outside curve of the headband and then covered the front and back in the leftover felt pieces.  I hot glued this on to the head band and painted the inside of the card board.  This is going to act as a support for the feathers.


My husband 3D printed an assortment of sizes.  He free formed  this from a reference image and has been printing me feathers ever since.


I spray painted them with a gold glitter paint.  I'm realizing this is hard to see on my brown table at night.  You'll get a better idea with future pictures.  My first can got some glitter out and then just started spitting clear paint....so I tried to shake and shimmy and pull to make it stop and it wouldn't....so I put the cap back on intending to let it run out of aerosol so I could return it and get a new can.  The lid and the spray button shot off like a gun!!!  Scared me and my husband out of our socks!  Thankfully the second can hasn't blown up.


 So now I have glued on the gold edging and sewn on the pearl.  Once all the glue and starch dried it's holding its shape perfectly by itself.  Next steps will include making the peacock and gluing the feathers in place.  I'll also need to figure out the tasseled dangles.  That will be last looks though so I'm not thinking too hard about that.  My hubby wanted to design a peacock head that was filigreed so he could print it on his 3D printer.  I told him that would look lovely but wouldn't be accurate.  I think he will think of a way to use his new toy no matter what the project.

Monday, July 20, 2015

Costume Progress - Gilgamesh Hat, Gracie Dress, Agatha Vest

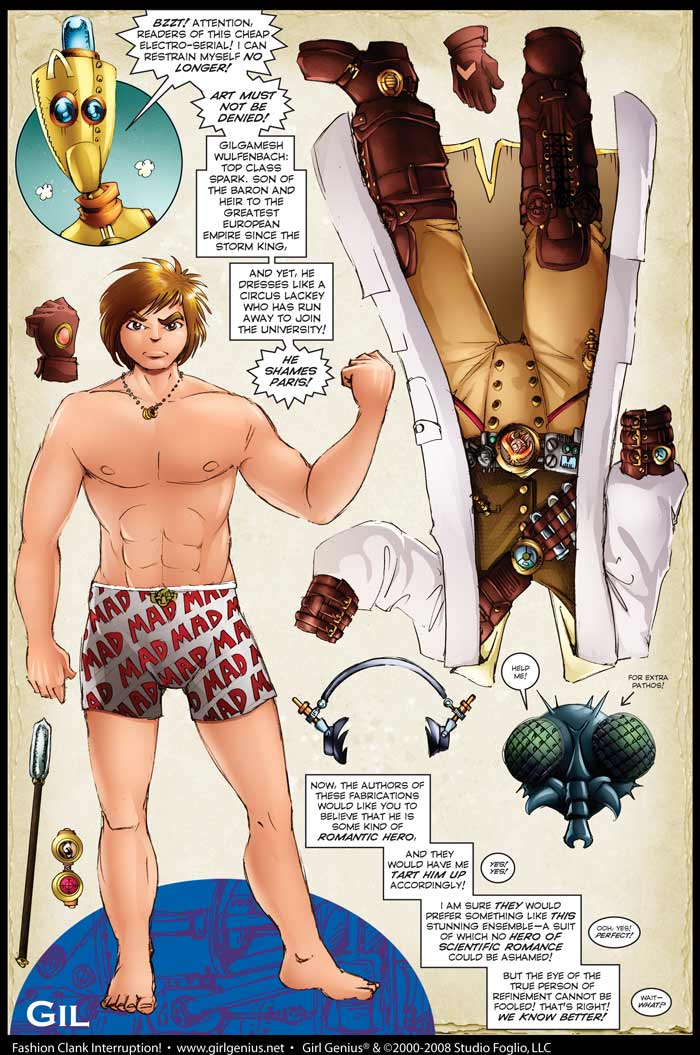
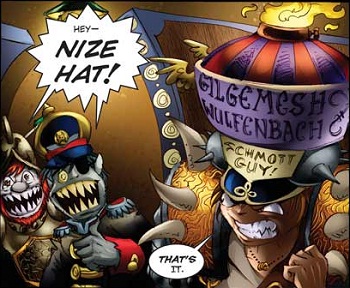
I suggested to my husband that Gilgamesh Wolfenbach would look awesome in his Schmott guy hat so he's been working on that.  He modified a faux flame machine to fit in the hat he designed and made with Pepakura.  He's going to resin the hat and then paint it next along with adding spikes in the appropriate places.


I was working on Agatha Heterodyne's vest.  I found the perfect vest but it was too small and so I split it up the back and added a sheer panel that I button holed so I could tie it together.  Then I added strands of Tshirt yarn to mirror the ribbon effect from the front of the vest and to keep the general feel of the flow of the garment.  


I also found the things I needed to stamp my princess bride dress to convert it into Gracie Law's wedding dress.  I still have a few more steps to do to make the paint permanent on the dress.  The gold ends up being a little darker than I had hoped but it does sparkle so perhaps it will catch the light.  I still need to adjust the collar and the sleeves.  

I also got the silver corset in the mail which looks pretty but is much flimsier than I anticipated.  I may have to change plans or double corset.  It also sits much lower than I was thinking on my chest.  It seems it is just meant for lingerie and not as a outward wearable corset.  I was going to modify it anyway so ... it will work for now.  I also got my silver wig, which they sealed into the envelope without clearing the hair so I had to yank some of the hair off the sticky parts.  The color is perfect but I don't think I'll be able to style it into a 30's 40's hairstyle.  John has also designed several prop pieces to print out on the 3d printer so we're in a pretty good place.


Thursday, July 9, 2015

The Costume Dump - SLC Comic Con plan


Gracie Law & Lo Pan


red dress with red and gold obi
I have the princess bride dress that could be modified by removing the cuff, cutting a new neckline and maybe stamping with gold fabric paint with an asian stamp
then all I would need is the obi, edging or just use the same corset I wore with the red dress last year
headdress 
green contacts ordered

hide regular shoes under long hem to stay comfortable
Need asian robe -  watchlisted several on ebay
will need red sash
hubby will need to build headdress (attach stringy long black hair to headdress or wear wig or forget it?)
gold long fingernail/talon

will need makeup for both.  
This is  the challenging bit.  I found a picture of someones handmade version.  She used the air dry paper clay to make the peacock head which looks easy.  The problem I'm having is how you design the form to the head.  I'm thinking about using one of my 1940's hats as the base or a headband which should keep things in place. I did find someone else's blog where they are recreating the looks and showing good step by step.  
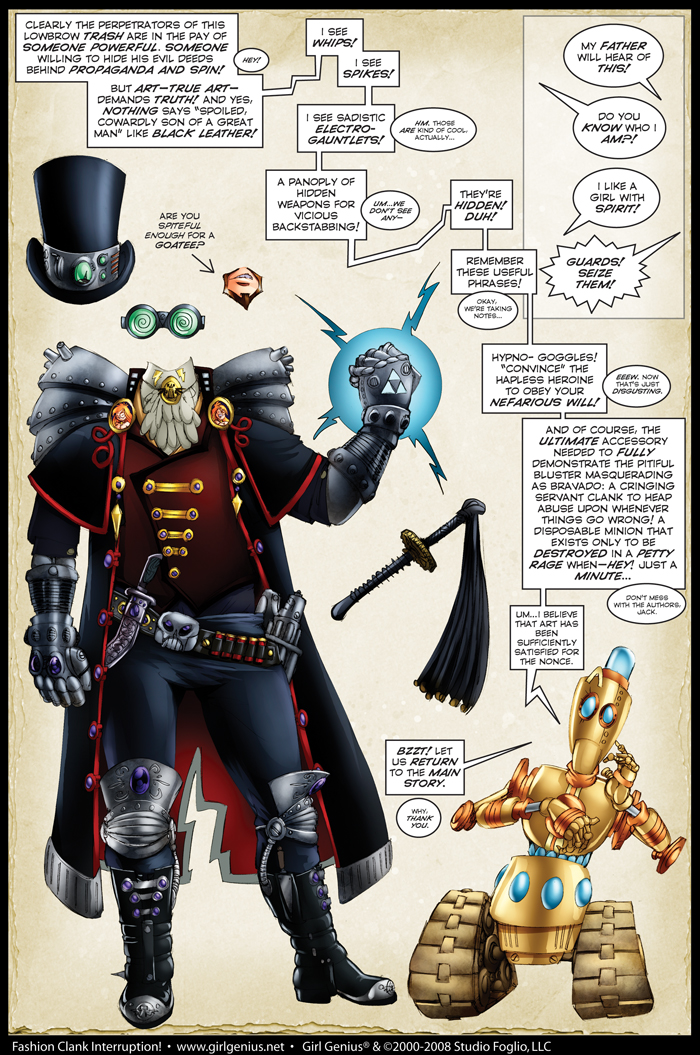


Agatha Heterodyne and Gilgamesh Wolfenback or jagermonster


red or brown corset
black vest 
black pants with red stripe
apron with tools
trilobite necklace and knee pads
work gloves
goggles
round glasses
blonde wig
gadgets


 Depending on which Gilgamesh look we go for...
brown fishing style vest with lots of pockets and tool holds
dirty white shirt
brown pants
 gadgets

or jagermonster with face hair has green hat with yellow plume brown army jacket with sash but john likes the idea of a horn so that would be flesh tone jager with pillbox hat and fur lined collar jacket and vest
doing the Schmot Guy hat on gil would be epic


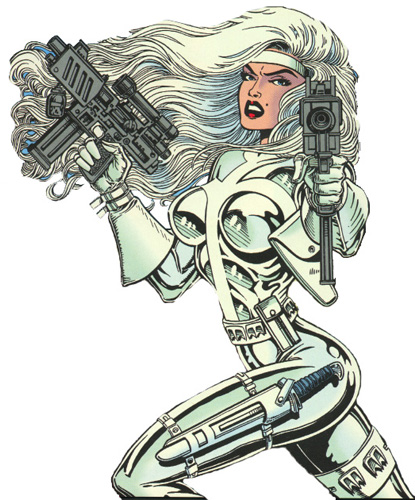
Silver Sable Noir

$300


$40


$14  


Silver Sable Noir is going to be less flattering in general.  I can order a silver corset to help shape underneath.  Plus one of the two dresses.
I plan on making or finding a pearl chocker that I can string pearls from to make the white cross that is silver sable.   Could also do the body jewlry and have it go all the way around harness style
 Making the Shirken shapes to add to the waist line and
 a silver painted hand gun to go in the purse. 
Silver wig has been ordered.
Silver gloves? or braclet?


Dr. Strange Noir


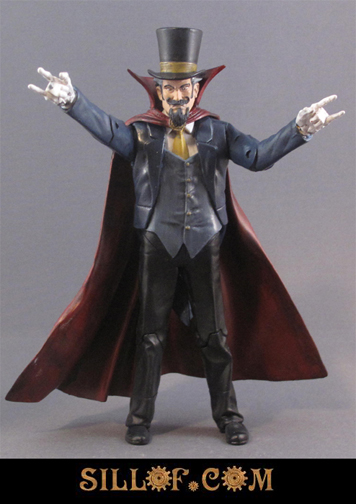
We have a grey tux and tails  that may work
modify red cape
top hat
yellow/gold cravat